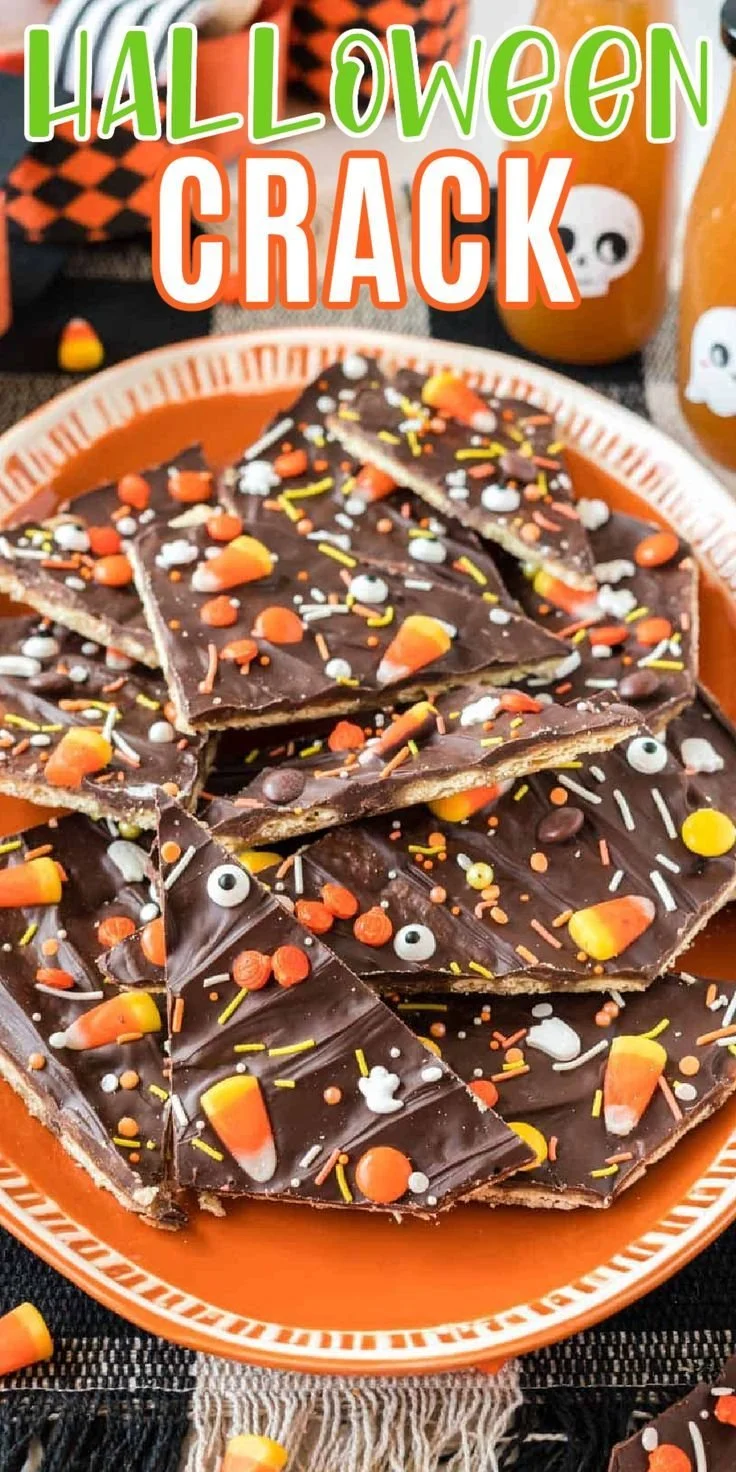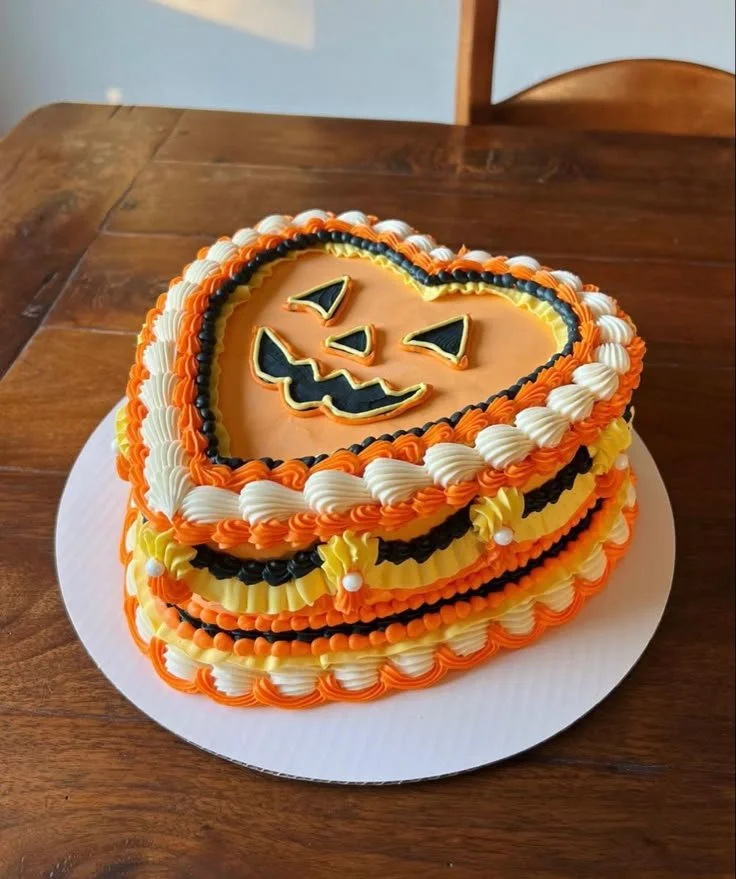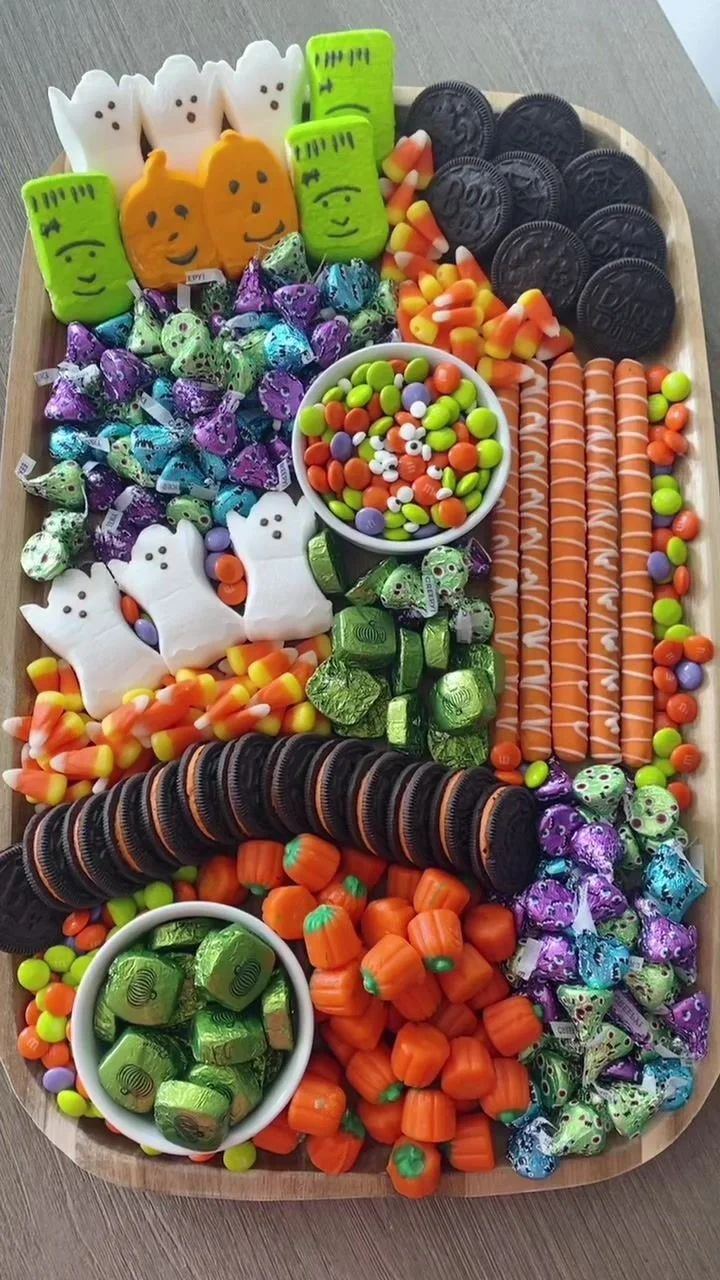
Creating delightful Halloween cookies is not only a fun activity but also a perfect way to celebrate the spooky season. These cookies are light, soft, and perfect for decorating with adorable ghostly or pumpkin faces. Whether you’re preparing for a party or looking to create lasting memories with loved ones, this Halloween cookies recipe is worth making for the fun, flavor, and festive charm it brings to the table.
Why You’ll Love Halloween Cookies
- Fun for All: Decorating these cookies offers a creative outlet for both kids and adults, making it an enjoyable bonding activity.
- Soft and Delicious: These cookies have a perfectly soft texture, providing a satisfying bite with a hint of sweetness that everyone loves.
- Versatile Decorating: With simple icing and food coloring, you can customize these cookies to reflect your favorite Halloween themes.
- Easy to Make: This recipe features straightforward steps that even novice bakers can follow with ease.
- Great for Sharing: They make delightful gifts or treats to share at Halloween parties, bringing a smile to everyone’s face.
Recipe Overview
- Prep Time: 15 minutes
- Cook Time: 10 minutes
- Total Time: 25 minutes
- Servings: About 24 cookies
- Difficulty Level: Easy
Ingredients You’ll Need for Halloween Cookies
-
Dry Ingredients:
- 2 3/4 cups all-purpose flour
- 1 teaspoon baking soda
- 1/2 teaspoon baking powder
-
Wet Ingredients:
- 1 cup unsalted butter, softened
- 1 1/2 cups white sugar
- 1 egg
- 1 teaspoon vanilla extract
- 1/2 teaspoon almond extract
- 3 to 4 tablespoons buttermilk
-
For Decorating:
- Decorating icing
- Food coloring (black, green, orange)
Make sure to use softened butter for easy mixing and a nice texture in the cookies. If you want to switch things up, coconut oil can substitute butter or you can leave out the almond extract if you prefer a more classic vanilla flavor.

here
How to Make Halloween Cookies
-
Preheat the Oven
Preheat your oven to 375 degrees F (190 degrees C) to prepare for baking. -
Mix Dry Ingredients
In a small bowl, stir together the flour, baking soda, and baking powder until well-combined. -
Cream Butter and Sugar
In a large bowl, cream together the softened butter and sugar until the mixture is smooth and fluffy. -
Add Wet Ingredients
Beat in the egg, vanilla extract, and almond extract, mixing until fully incorporated. -
Combine Mixtures
Gradually blend in the dry ingredients, mixing until just combined. If the dough seems too crumbly, add in the buttermilk one tablespoon at a time until it reaches a soft consistency. -
Shape Cookies
Roll rounded teaspoonfuls of dough into balls and place them onto ungreased cookie sheets, giving enough space between them for spreading. -
Flatten the Dough
Flatten each ball gently with the bottom of a glass dipped in sugar for a sweet touch. -
Bake
Bake in your preheated oven for 8 to 10 minutes, or until the edges are golden. -
Cool and Decorate
Allow cookies to cool on wire racks before decorating them with icing and food coloring to create playful ghostly or pumpkin faces.
Tips for Success
- Room Temperature Ingredients: Ensure your butter and egg are at room temperature, making them easier to blend and yielding a finer texture.
- Don’t Overmix: When combining wet and dry ingredients, mix until just combined to avoid tough cookies.
- Use Parchment Paper: If you prefer, line your cookie sheets with parchment paper for easier cleanup and to prevent sticking.
- Adjust for Thickness: If you’d like thicker cookies, chill the dough for about 30 minutes before baking.
- Taste Test Icing: Encourage creativity in decorating with icing by making a batch of different colors but taste-testing for sweetness first!
Easy Variations
- Spooky Variants: Use black cocoa powder instead of regular cocoa for darker cookies that fit the Halloween theme.
- Gluten-Free Option: Substitute all-purpose flour with a gluten-free blend to make the cookies gluten-free.
- Chocolate Chips: Add 1 cup of chocolate chips to the dough for an indulgent twist.
- Seasonal Spices: Incorporate pumpkin spice or cinnamon for added warmth and flavor, complementing the fall season.
- Nut-Free Version: Skip the almond extract; it can easily be replaced with extra vanilla for flavor.
What to Serve with Halloween Cookies
- Hot Cocoa: Perfect for dipping, a warm cup of hot cocoa pairs wonderfully with these cookies during chilly autumn evenings.
- Apple Cider: The sweet and spiced flavors of apple cider complement the festive spirit and flavors of the cookies.
- Milk: A classic pairing, milk balances the sweetness and enhances the experience for kids and adults alike.
- Pumkin Pie: For an all-out fall feast, serve with a slice of pumpkin pie, reinforcing those seasonal flavors.
- Spiced Coffee: For adults, a spiced coffee brings out the warmth and coziness of autumn flavors, ideal for fall gatherings.
Storage and Reheating
- Refrigerator Storage: Store the cookies in an airtight container in the fridge for up to one week.
- Freezer Storage: Freeze cookies in a single layer on a baking tray, then transfer them to a freezer-safe bag for up to 3 months.
- Reheating: Reheat individual cookies in the microwave for about 10-15 seconds to regain their softness.
- Preserve Texture: To keep cookies chewy, place a slice of bread in the container with the cookies; it helps maintain moisture.
- Meal Prep Note: The dough can also be made a few days in advance and refrigerated; just bring it back to room temperature before baking.
Common Mistakes to Avoid
- Using Cold Ingredients: Don’t use cold butter or eggs; they should be at room temperature to ensure proper mixing.
- Baking Too Long: Keep an eye on the cookies; they should be golden around the edges but still soft in the center.
- Skipping the Cooling Step: Letting cookies cool on a wire rack prevents sogginess and maintains texture for decorating.
- Overcrowding the Sheet: Allow ample space between cookies on the baking sheet so they don’t spread into each other.
- Inadequate Mixing: Ensure all ingredients are well combined to avoid uneven baking and flavor distribution.
Halloween Cookies: Background & Cultural Inspiration
Halloween cookies have become a staple in many households during the fall season. This tradition stems from the fun of trick-or-treating and themed parties, where imaginative designs and flavors come to life. Cookies often take on festive shapes, embodying symbols of Halloween like pumpkins, ghosts, and witches. Decorated cookies date back to ancient cultures where sweets were offered to deities, transforming over centuries into the delightful treats we enjoy today. Crafting Halloween cookies also promotes creativity in decorating, making it a seasonal tradition that spans generations.
Frequently Asked Questions
Can I make the dough ahead of time?
Yes, you can prepare the dough a few days in advance and store it in the fridge until you’re ready to bake.
How should I store leftover cookies?
Keep them in an airtight container at room temperature for up to a week or in the freezer for up to three months.
Can I use margarine instead of butter?
While margarine can be used, it may affect the flavor and texture. Unsalted butter is recommended for the best results.
How can I make the icing?
You can make icing using powdered sugar, milk, and a splash of vanilla extract. Adjust the milk to reach desired consistency.
What if my cookies spread too much while baking?
Ensure your butter is softened properly and avoid overmixing the dough. Chilling it for 30 minutes before baking can also prevent excessive spreading.
Final Thoughts
These Halloween cookies offer a delightful combination of fun and flavor that makes them perfect for celebrating the season. They are easy to make, enjoyable to decorate, and loved by all ages. Whether you’re looking to impress at a gathering or simply want to have some fun in the kitchen, this recipe is just what you need. Give it a try—your family and friends are sure to appreciate your spooky creations!
PrintHalloween Cookies

These delightful Halloween cookies are soft, easy to make, and perfect for decorating with spooky designs.
- Prep Time: 15 minutes
- Cook Time: 10 minutes
- Total Time: 25 minutes
- Yield: Approximately 24 cookies
- Category: Dessert
- Method: Baking
- Cuisine: American
- Diet: Vegetarian
Ingredients
- 2 3/4 cups all-purpose flour
- 1 teaspoon baking soda
- 1/2 teaspoon baking powder
- 1 cup unsalted butter, softened
- 1 1/2 cups white sugar
- 1 egg
- 1 teaspoon vanilla extract
- 1/2 teaspoon almond extract
- 3 to 4 tablespoons buttermilk
- Decorating icing
- Food coloring (black, green, orange)
Instructions
- Preheat your oven to 375 degrees F (190 degrees C).
- Mix the flour, baking soda, and baking powder in a small bowl until well-combined.
- Cream the softened butter and sugar together until smooth and fluffy.
- Beat in the egg, vanilla extract, and almond extract until fully incorporated.
- Blend in the dry ingredients gradually until just combined; add buttermilk if needed.
- Roll rounded teaspoonfuls of dough into balls and place them on ungreased cookie sheets.
- Flatten each ball gently with the bottom of a glass dipped in sugar.
- Bake for 8 to 10 minutes, or until the edges are golden.
- Cool cookies on wire racks before decorating.
Notes
Use softened butter for easy mixing. You can substitute coconut oil for butter and omit almond extract if desired.